
DIY Battery-Powered Magnetic Stirrer
A magnetic stirrer is simply a box with a rotating magnet. Homebrewers use magnetic stirrers to start yeast colonies, but the community is generally unwilling to pay the exorbitant prices charged by scientific suppliers for these relatively simple devices. Some homebrewers decided to build their own stirrers by gluing powerful magnets to old PC fans mounted in Tupperware containers.
For an upcoming field experiment, I’ll need two battery-powered stirrers. Unfortunately, Cole Parmer is charging $437 for one of these units. In this guide, I’ll build two battery-powered stirrers using techniques developed by the homebrewing community. The goal of this project is to save the lab ~$700. This build is modified from a now removed post on a home brewing blog.
Parts List
| Part | Price |
|---|---|
| Rocker switch | $3.49 |
| Rheostat | $3.59 |
| Control knob | $1.50 |
| Alligator clips | $2.49 |
| PC fan | $5.99 |
| Wire | $4.29 |
| Enclosure | $13.69 |
| Magnets | $5.86 |
Total: $41.72 + taxes & shipping
You can reduce the cost of this project by using old PC fans and scrap wire.
To assemble the unit, you’ll need a drill, soldering iron, screwdrivers, and superglue. I used 12-volt batteries (model: Eagle Picher CF-12V12) as my power source, but you could use a 12-volt wall plug adapter if portability isn’t required.
Assembly Steps
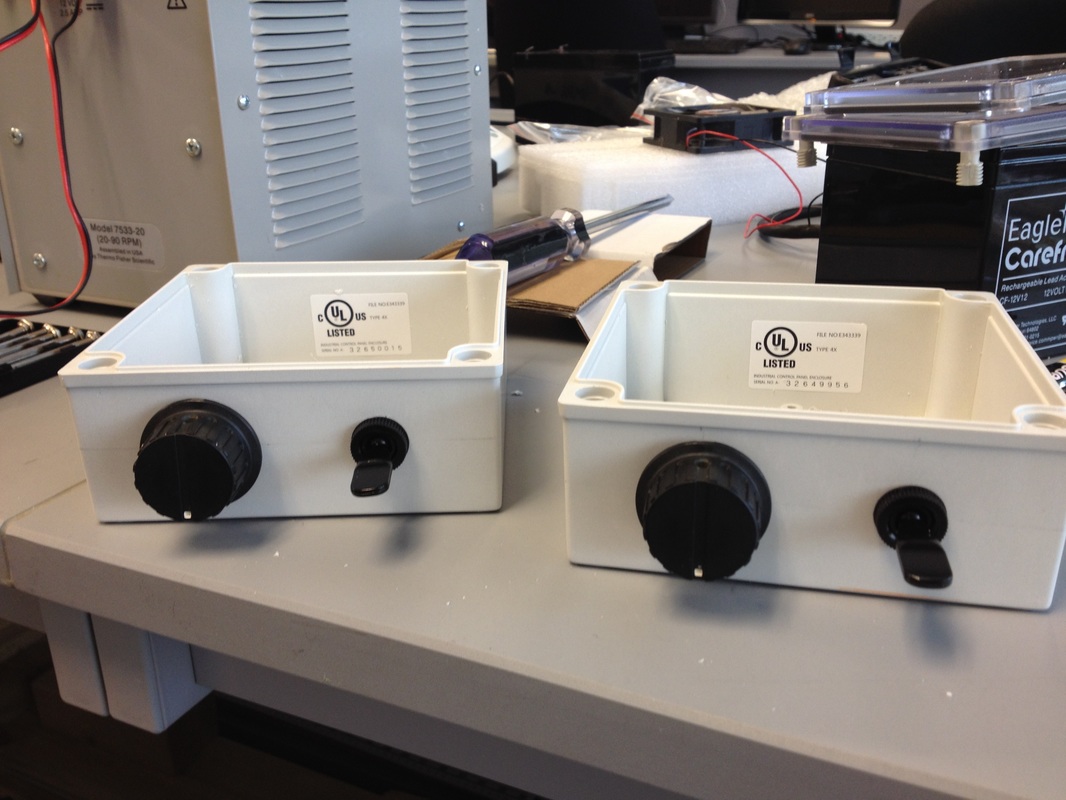
- Drill a hole on the side or back of the box. The diameter should be large enough for the battery hookup wire to fit through.
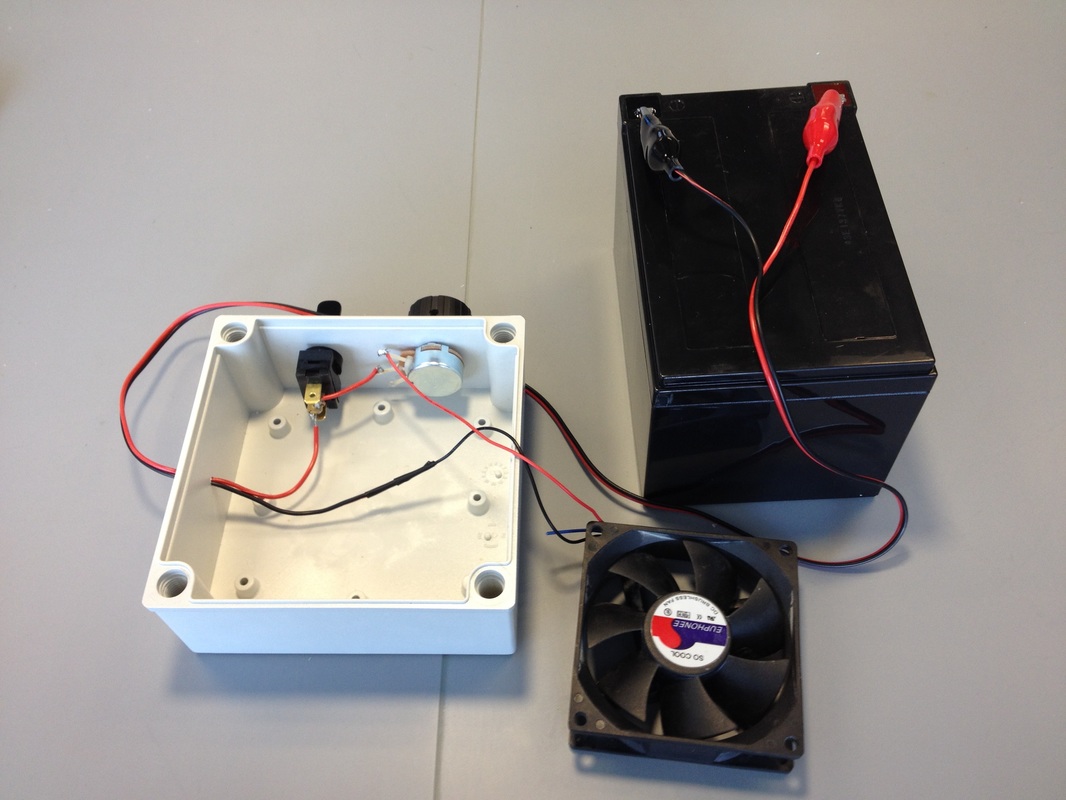
- Drill two holes on the front of the enclosure and mount the power switch and rheostat.
- Cut the connector off the computer fan. Depending on the fan, you may have extra wires (blue, green, yellow). Only the red (positive) and black (negative) wires are needed — remove the others.
- Connect the red wire from the fan to one prong of the rheostat. The speed will depend on wiring direction; follow the pictures if you want clockwise rotation to increase speed.
- Use a piece of wire to connect the rheostat and power switch.
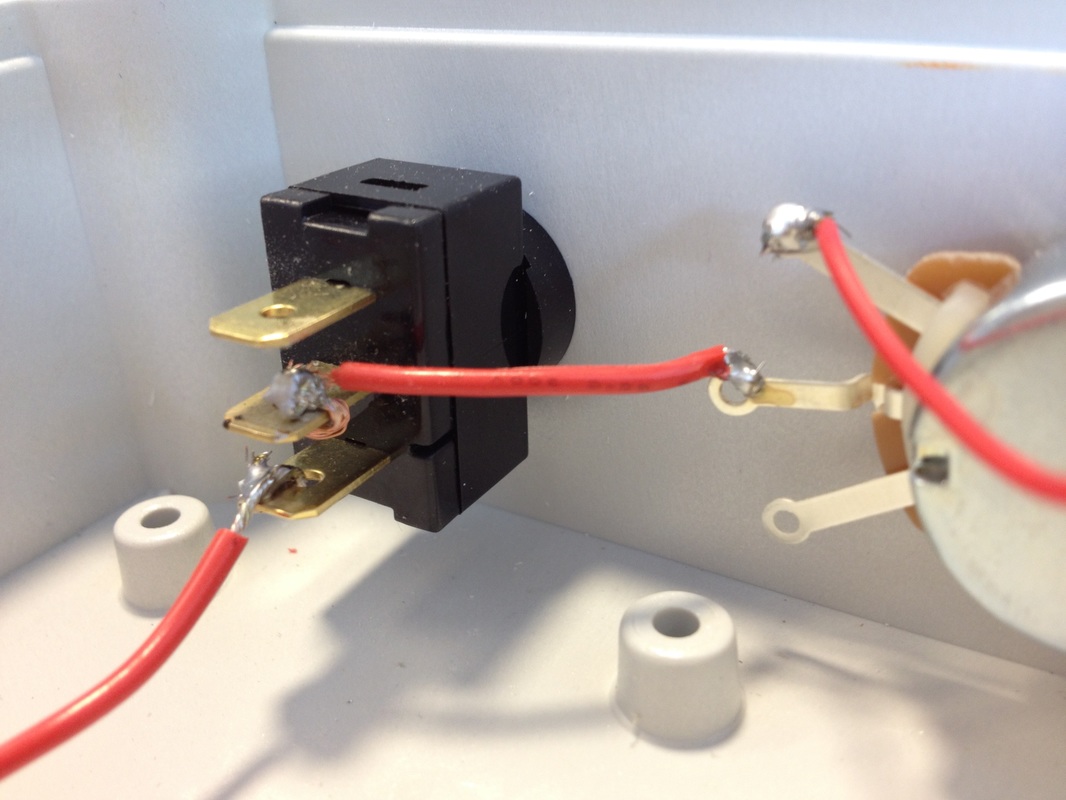
- Cut a long piece of zip wire (red and black bonded in parallel). On one end, attach alligator clips to connect the stirrer to the battery. Run the other end through the hole drilled in Step 1. Solder the positive wire to the power switch and the negative wire to the negative fan wire.
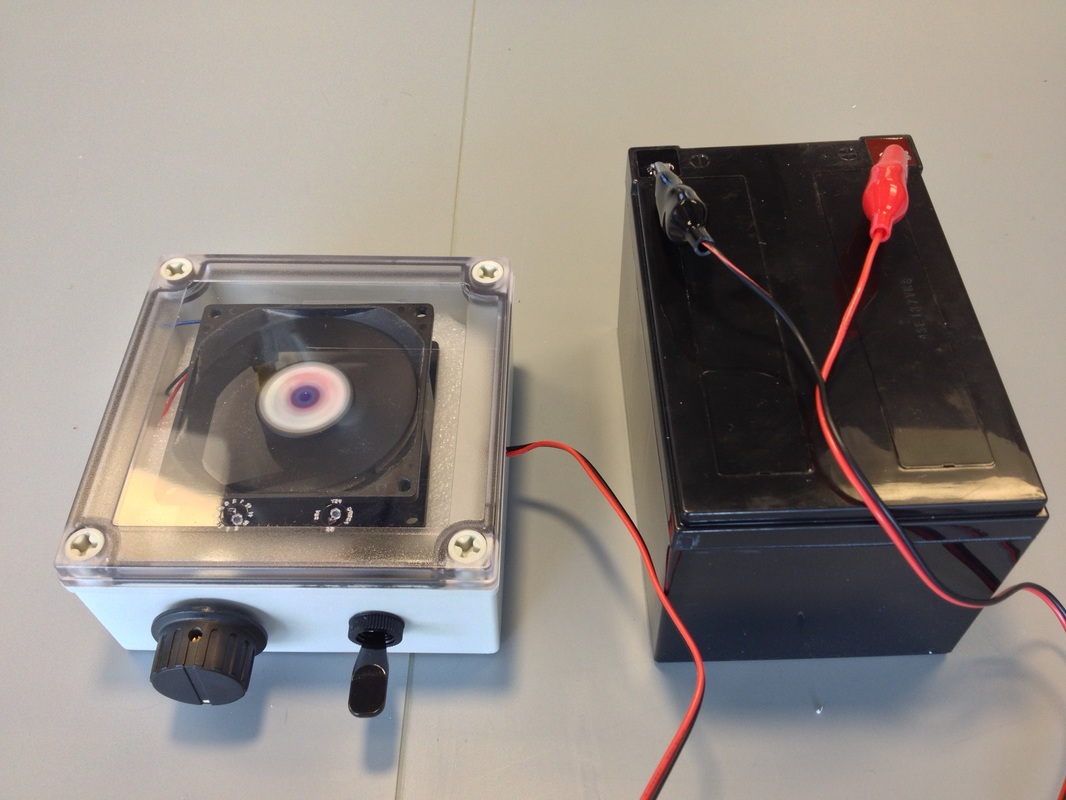
- Glue two magnets to the face of the fan. Make sure opposite polarities face upwards on each magnet.

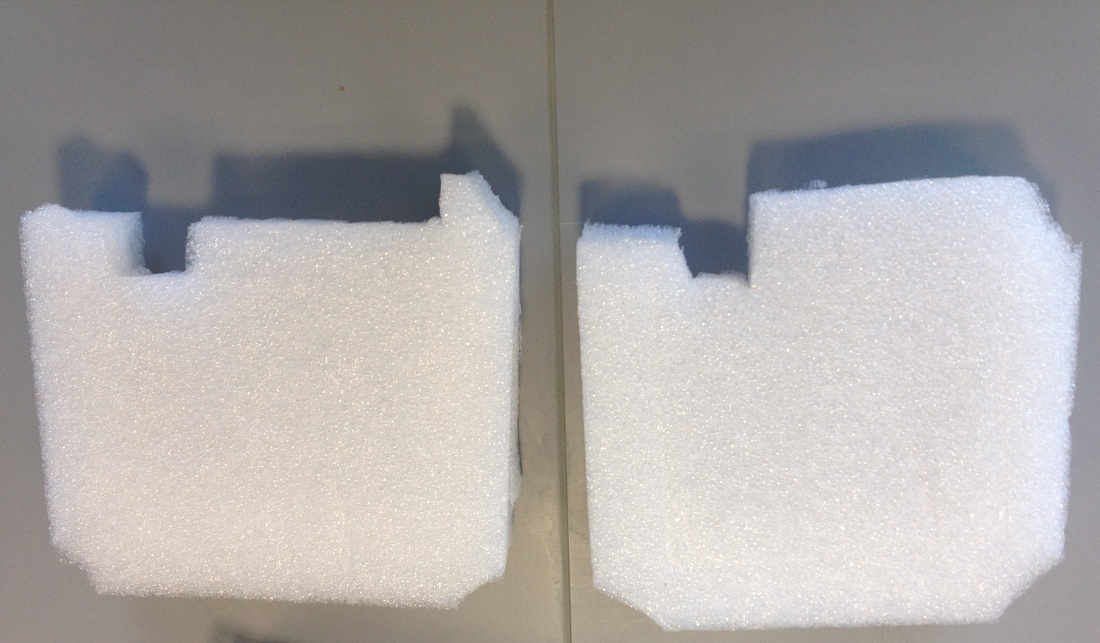
- Mount the fan in the enclosure. Packing foam, nylon spacers, or similar materials can help achieve the desired height. The magnets should be as close to the top of the enclosure as possible.
- If the fan spins too fast at 12 volts, add resistors in series to reduce speed. In my build, a 100 Ohm resistor worked for my fans. The required resistance depends on your fan.
This setup provides a functional, low-cost, battery-powered magnetic stirrer suitable for homebrewing or small experiments.