Background
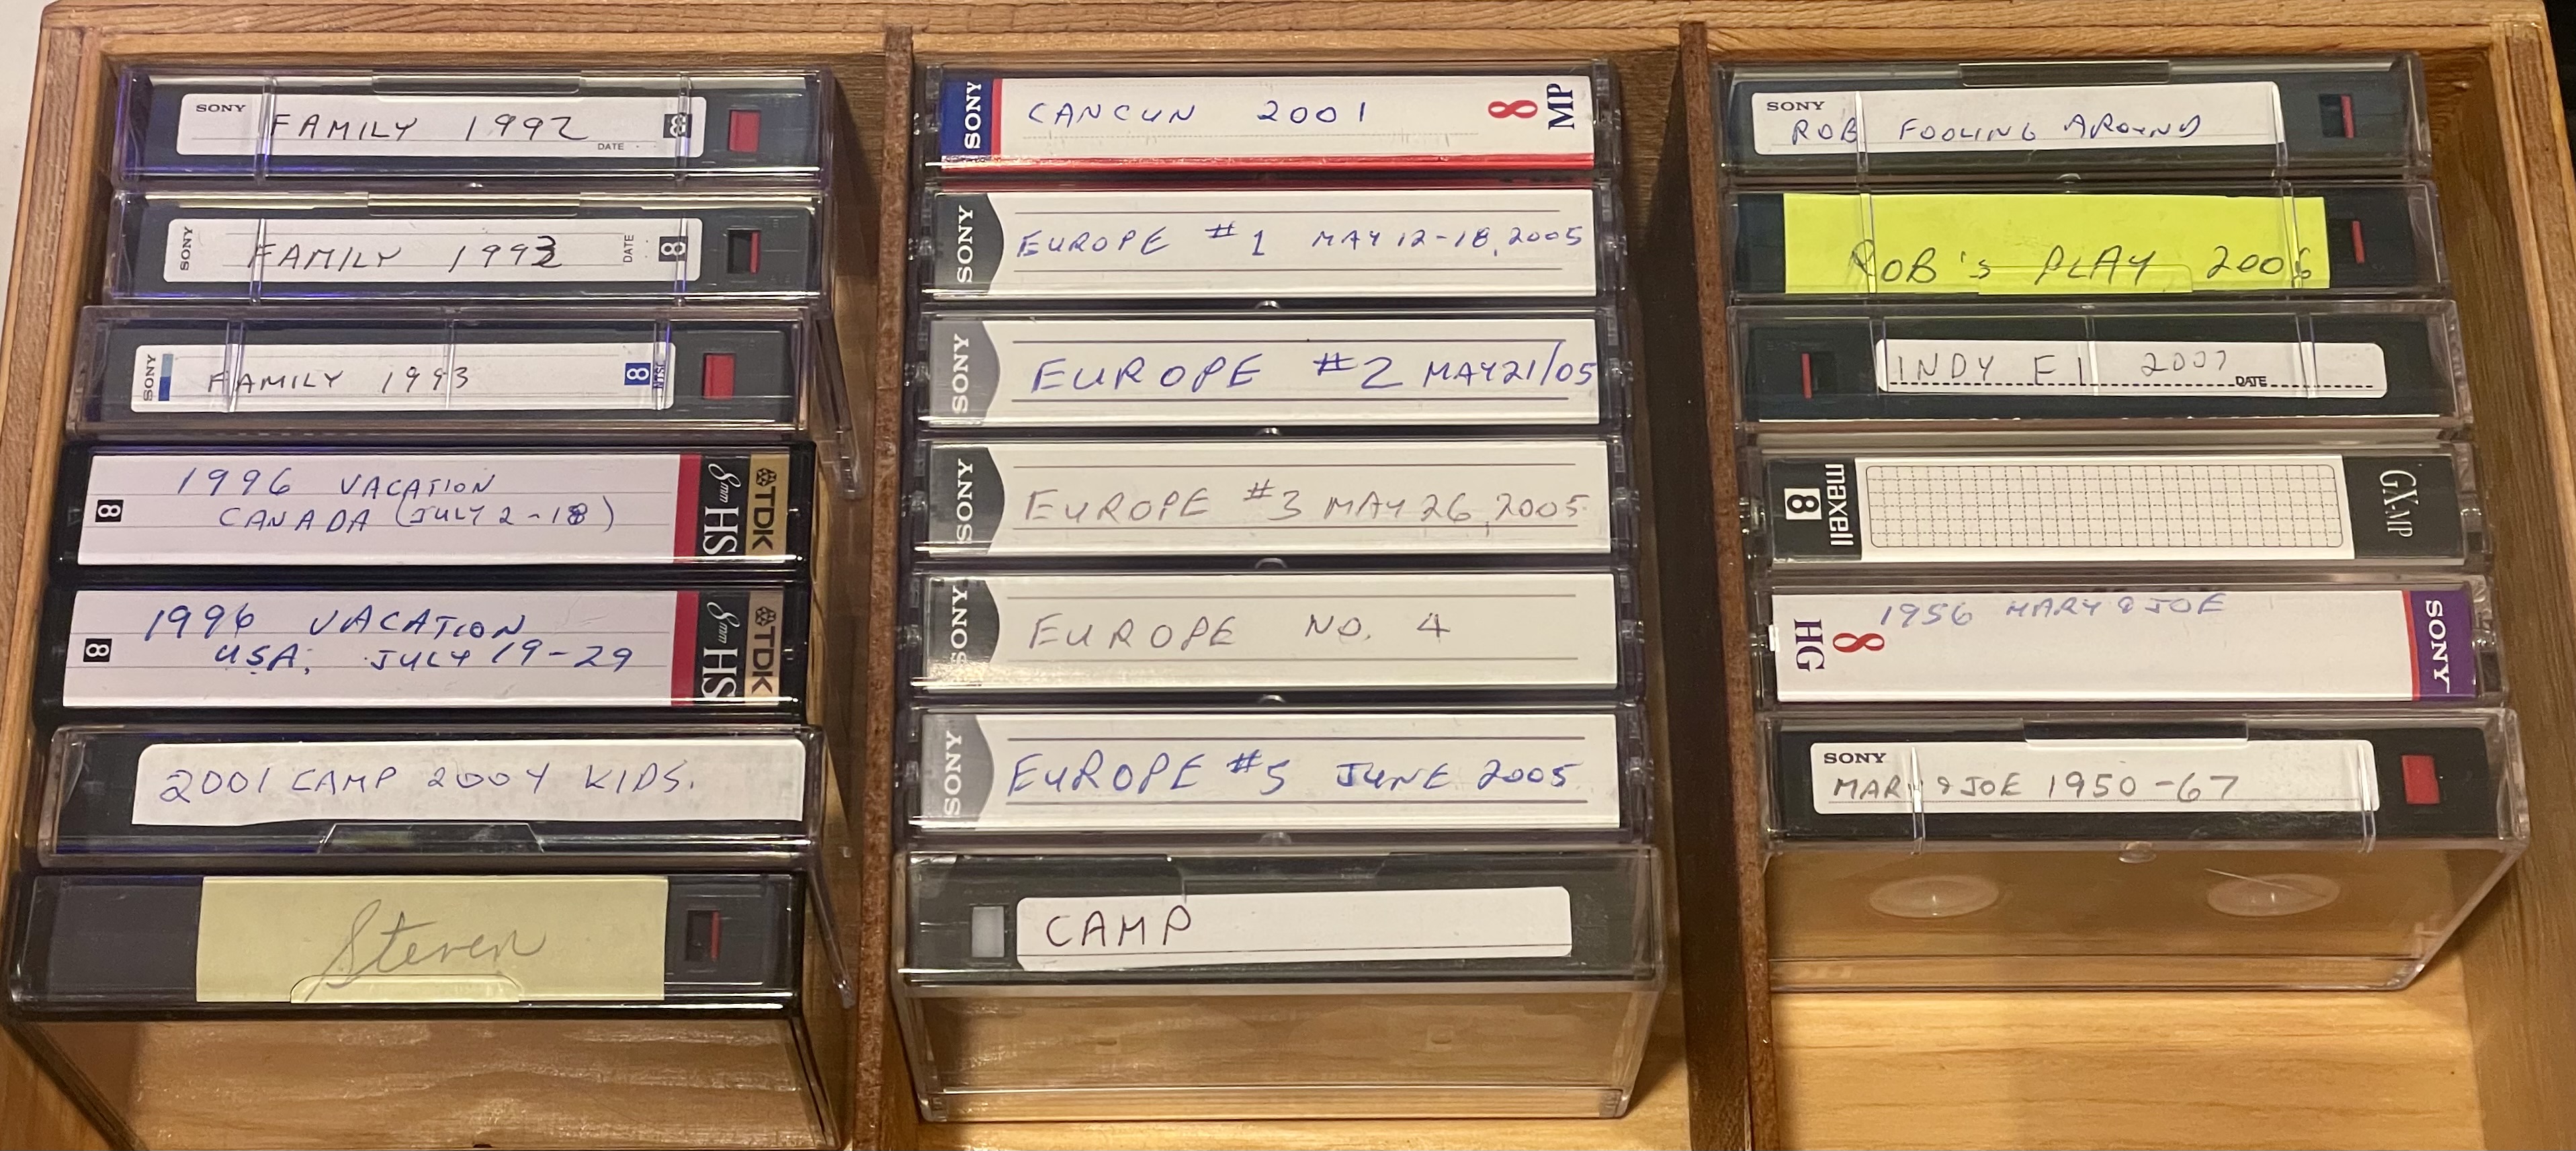
My family has a collection of 20 home videos recorded in the 1990s and 2000s on Video8 tapes. Video8 is 1980s technology that used magnetic video cassettes to record analog video and audio signals. I’m glad we have so many home videos, but unfortunately, these tapes are highly prone to disintegration and can degrade after 10–20 years. They are also difficult to watch using modern televisions, which often omit composite inputs. So, I began the project of archiving these tapes.
Archival Workflow
I decided to use the amazing VHS-Decode project to accomplish this. VHS-Decode uses software to digitally decode captured RF signals from the player to digitize these analog tapes. I chose VHS-Decode because it is much cheaper than the expensive hardware required for conventional S-Video capture using high-end consumer or prosumer players. The downsides of VHS-Decode are high storage requirements (covered later) and, at the time of writing, a relatively high level of complexity.
The steps in the workflow are:
- RF capture
- Video decoding
- Audio decoding
- Auto audio alignment
- Export of final video
- Post-processing and compression of final video (optional)
1. RF capture
Video8 is easier to capture compared to VHS because the audio and video are combined onto the same radio frequency (RF) channel. For VHS and other formats with multiple channels, a synchronized capture is needed, which adds complexity and cost.
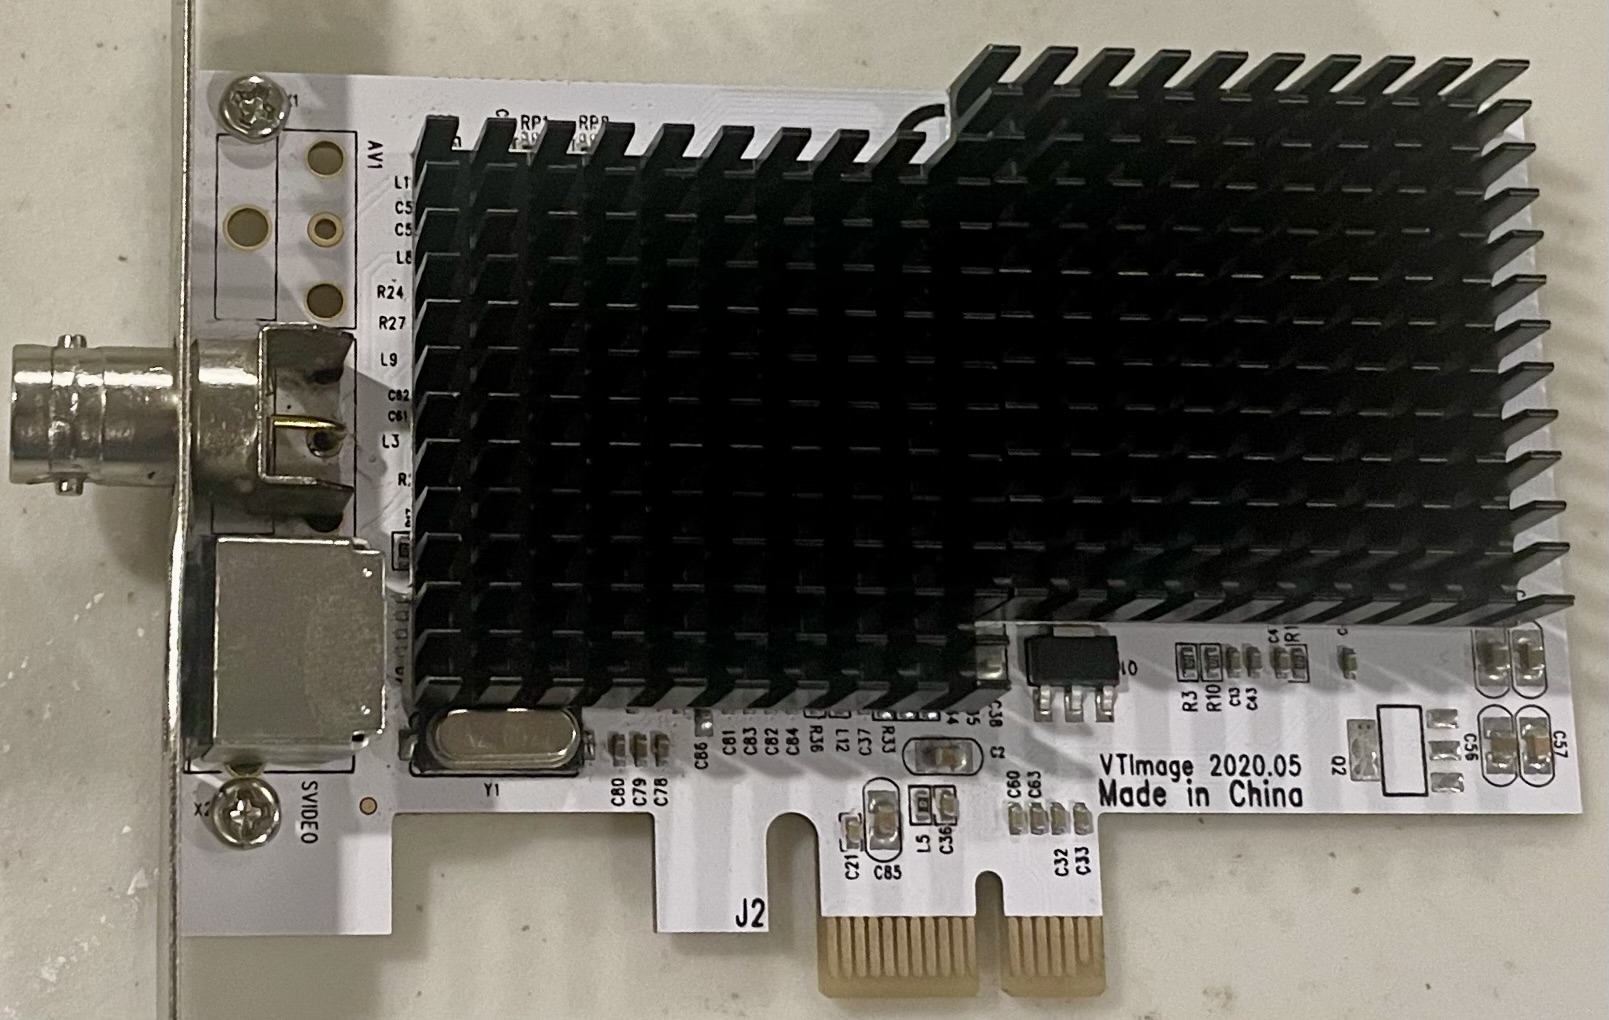
With Video8, we can use a single modified CX Card to capture everything we need for around $40 with some simple soldering skills. The modifications are explained in the VHS-Decode documentation. On my card, I performed the cooling mod, C31 removal, RCA-to-BNC replacement, and crystal mod. Since I was using Ubuntu on my capture PC, I also needed the cxadc-linux3 driver. Alternatively, you could use the Domesday Duplicator as a more “off-the-shelf” hardware option at a higher price.
Although my tapes were captured on a variety of camcorders, the latest model I own is a Sony CCD-TRV37. Sony camcorders have a service connector that can be used with a ribbon cable and breakout board to connect a BNC wire directly to the RF signal from the camera. Check the VHS-Decode documentation on Sony 8mm formats for more information.
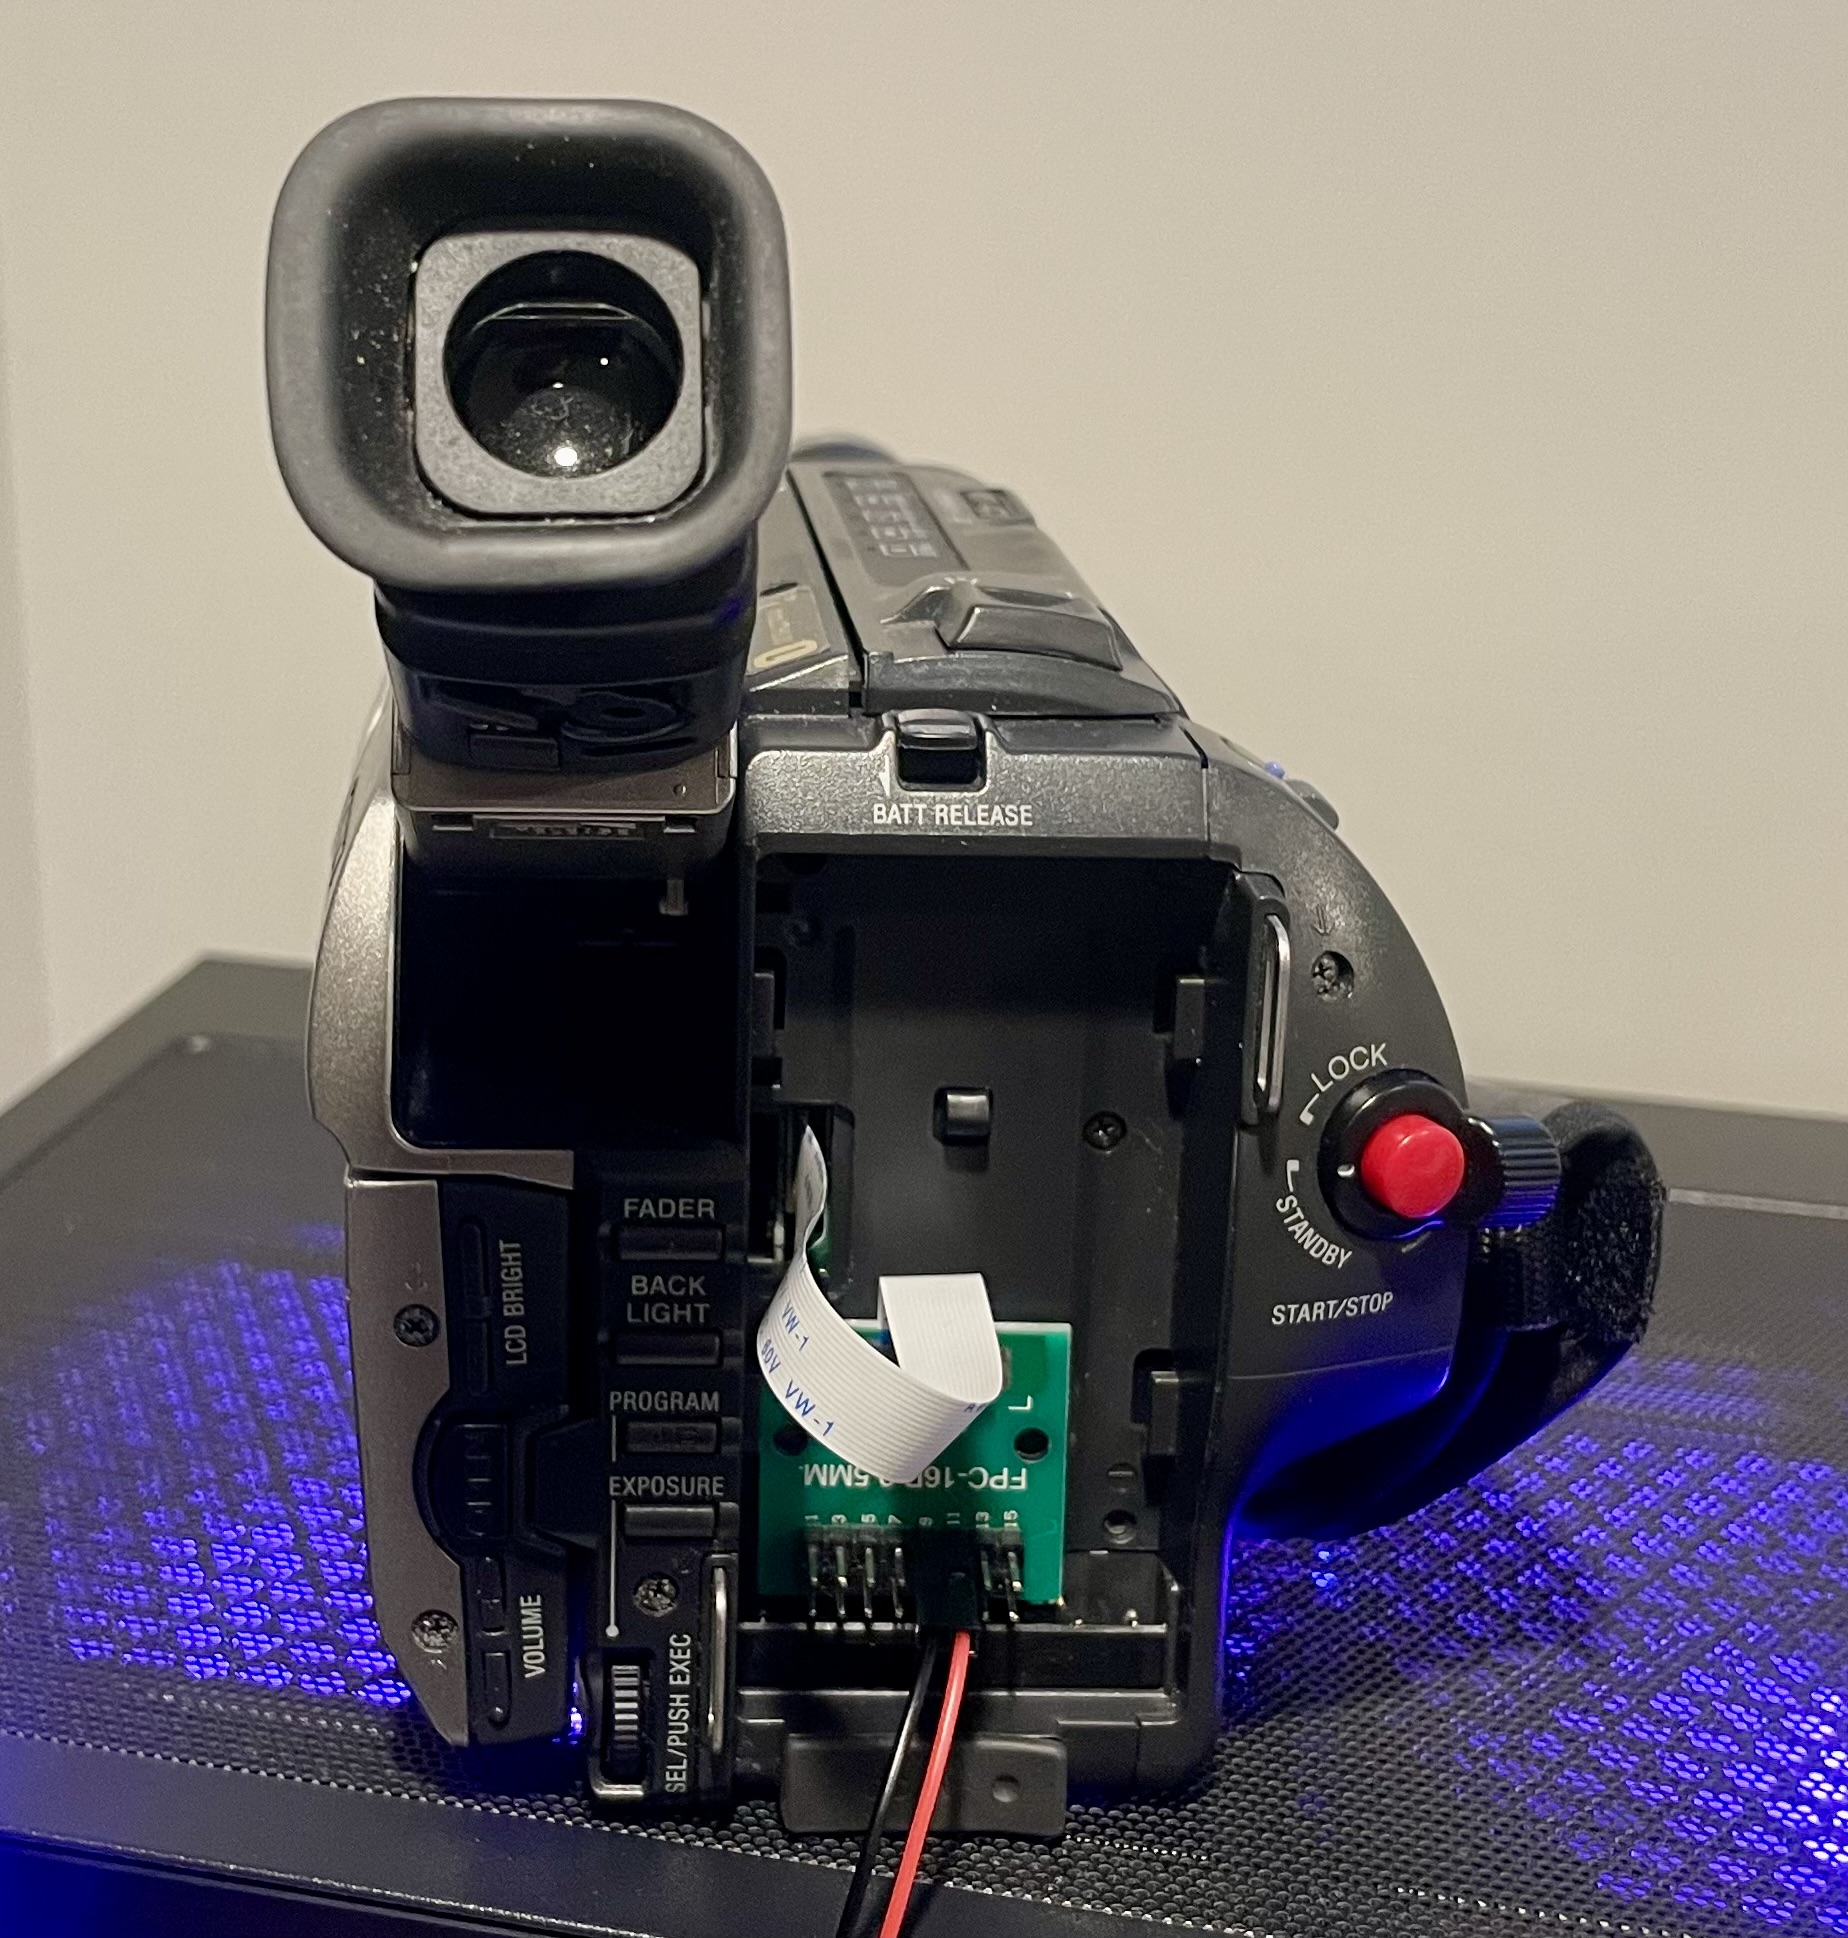
The hardest part of this process was getting a strong, usable signal from the camera. The manual for my camcorder said PB RF (Playback RF) was Pin 6 and REG GND (Ground) was Pin 8. For my breakout board, the pin maps differed depending on which side of the board I looked at: Pin 6 and 8 on the underside were 11 and 9 on the top, and that’s what worked for me. If I plugged into the wrong pin, the camera’s LCD playback would be garbled. Also, check the Sony 8mm tap list.
Once working, I could capture an entire 2-hour tape using:
timeout 2h cat /dev/cxadc0 | pv > FILE.u8
I recommend taking a ~30-second capture the whole way though the decode workflow before dealing with full tapes.
I experimented with FLAC compression to shrink files, but I ended up having audio issues later in the workflow. The documentation also warns against downsampling Video8/Hi8 signals.
2. Video Decoding
Once we have captures, we can begin decoding. The first step is installing the required software. Steps vary by OS, but I followed the VHS-Decode documentation on GitHub for Linux without issues. Once installed, it’s just a matter of running the commands. See here for additional options.
vhs-decode \
    # Automatically adjust the black level on a per-field basis
    --ire0_adjust \
    # Set the frequency to 40 because of the crystal-modded CX card
    --frequency 40 \
    # Force NTSC mode
    --ntsc \
    # Use 4 threads
    --threads 4 \
    # Specify the tape format
    --tape_format Video8 \
    # Input and output files
    'FILE.u8' 'FILE'
Once complete, you can use ’ld-analyse FILE.tbc’ to check the output.
3. Audio Decoding
Now we decode the audio using the companion hifi-decode project. I’m not sure what the history of these projects is, but it’s interesting that the documentation lays out the options differently (suggesting -t instead of --threads) but also seems to have different syntax for the exact same modes (--ntsc in vhs-decode vs --system ntsc or -n in hifi-decode). This is the type of thing that makes this project a bit more complicated than it really needs to be. In Ubuntu, the GUI didn’t seem to work for me but the command line was fine.
hifi-decode \
    # Set the frequency to 40 because of the crystal-modded CX card
    -f 40 \
    # Force NTSC mode
    -n \
    # Use 8 threads
    -t 8 \
    # Set audio rate in Hz (default is 48000)
    --audio_rate 48000 \
    # Use Sony 8mm format mode (Video8 & Hi8 HiFi FM)
    --8mm \
    # Input and output files
    'FILE.u8' 'FILE.flac'
The only issue I had with this step was mysterious crashes when I ran many threads or concurrent decodes. I think it’s related to memory usage, but even adding swap space didn’t resolve the crashes. This step benefits from many threads, but I found any more than eight caused stability issues.
4. Auto Audio Alignment
Now it’s time to align our audio and video, which requires another piece of software from another developer with another set of quirks. vhs-decode-auto-audio-align is built for Windows but can be run on macOS and Linux using the Mono project. The documentation does a great job explaining why and how this project works, but I found the command documentation a bit lacking. I couldn’t get it to work without help from the fantastic Domesday86 Discord server.
# Decode the input FLAC file into raw 24-bit with 2 channels
ffmpeg -i 'FILE.flac' -f s24le -ac 2 - | \
# Pipe the raw audio into VhsDecodeAutoAudioAlign.exe through mono for alignment
mono VhsDecodeAutoAudioAlign.exe stream-align \
  # 6 bytes per stereo sample (3 bytes * 2 channels = 24-bit stereo)
  --sample-size-bytes 6 \
  # The sample rate of the raw PCM stream coming from FFmpeg
  --stream-sample-rate-hz 48000 \
  # Video decoded JSON file with reference timing data
  --json 'FILE.tbc.json' \
  # Set to 40 Mhz because of crystal mod on capture card
  --rf-video-sample-rate-hz 40000000 | \
# Pipe the aligned PCM output back into FFmpeg
ffmpeg -f s24le -ar 48000 -ac 2 -i - -c:a flac -sample_fmt s32 'FILE_aligned.flac'
5. Export of Final Video
This is the simplest part of the whole process and the most satisfying.
tbc-video-export --audio-track 'FILE_aligned.flac' 'FILE.tbc' 'FILE.mkv'6. Post-processing and compression
Hopefully, you have a working MKV file at this point. My two-hour videos ended up being 100–125 GB in size. This made it difficult to share with family and friends, so I used Handbrake to compress these files. I used the “Fast 1080p30” preset (which, despite the name, retains the original resolution) and set Deinterlace under Filters to “Decomb” (although most modern players can deinterlace automatically). After compression, these files were around 2–3 GB, and I couldn’t see much difference in side-by-side comparisons. Here’s some compressed video from one of the 20 tapes:
Video8 Decode script
I created a script to run through the whole process except the initial capture (step 1) and post-processing (step 6). Since I am using a 12th-gen Intel CPU with Performance and Efficiency cores, I pinned the process to the first 16 cores on my i7-12700K for increased performance. I found it more efficient to run multiple decodes simultaneously using this script because of the inefficiency of multithreading in the time-consuming video decoding step.
#!/bin/bash
# ==========================================================
# VHS Decode Automation Script (with P-core affinity)
# Usage: ./vhs_decode.sh FILE_NAME [--force]
#
# Examples:
#    ./vhs_decode.sh Europe_2_May_21_2005-video8
#    ./vhs_decode.sh Europe_2_May_21_2005-video8 --force
# ==========================================================

set -euo pipefail

# ---- Pin the entire script to P-cores (0-15) ----
taskset -cp 0-15 $$ >/dev/null

# ---- Input ----
if [ "$#" -lt 1 ]; then
    echo "Usage: $0 FILE_NAME [--force]"
    exit 1
fi

FILE="$1"
FORCE_DECODE=false

if [ "${2:-}" == "--force" ]; then
    FORCE_DECODE=true
    echo "Force mode enabled — all stages will reprocess even if outputs exist."
fi

# ---- Configuration ----
BASE_OUTPUT="/mnt/documents/FamilyVideos"

RAW_DIR="$BASE_OUTPUT/01_Raw_RF"
VIDEO_DIR="$BASE_OUTPUT/02_Video_Decode"
AUDIO_DIR="$BASE_OUTPUT/03_Audio_Decode"
AUDIO_ALIGNED_DIR="$BASE_OUTPUT/04_Audio_Aligned"
FINAL_DIR="$BASE_OUTPUT/05_Final_Output"
AUTO_ALIGN="$BASE_OUTPUT/vhs-decode-auto-audio-align_1.0.0/VhsDecodeAutoAudioAlign.exe"
FREQ=40
TAPE_FORMAT="Video8"

# ---- Paths ----
declare -A PATHS=(
    [RAW]="$RAW_DIR/${FILE}.u8"
    [TBC]="$VIDEO_DIR/${FILE}.tbc"
    [TBC_JSON]="$VIDEO_DIR/${FILE}.tbc.json"
    [AUDIO]="$AUDIO_DIR/${FILE}.flac"
    [ALIGNED_AUDIO]="$AUDIO_ALIGNED_DIR/${FILE}_aligned.flac"
    [FINAL]="$FINAL_DIR/${FILE}.mkv"
)

# ---- Create directories if missing ----
mkdir -p "$RAW_DIR" "$VIDEO_DIR" "$AUDIO_DIR" "$AUDIO_ALIGNED_DIR" "$FINAL_DIR"

# ---- Check for RF input ----
if [ ! -f "${PATHS[RAW]}" ]; then
    echo "Raw RF file not found: ${PATHS[RAW]}"
    exit 1
fi

# ---- Step 1: Video Decode ----
# Optional: add --fallback_vsync to vhs-decode command (caused issues for me)
if [ "$FORCE_DECODE" = false ] && [ -f "${PATHS[TBC]}" ] && [ -f "${PATHS[TBC_JSON]}" ]; then
    echo "Skipping video decode — TBC files already exist: ${PATHS[TBC]}"
else
    echo "Decoding video: ${PATHS[RAW]} -> $VIDEO_DIR/${FILE}"
    vhs-decode \
    --ire0_adjust \
    --recheck_phase \
    --frequency "$FREQ" \
    --ntsc --threads 8 \
    --tape_format "$TAPE_FORMAT" \
    "${PATHS[RAW]}" "$VIDEO_DIR/${FILE}" --overwrite
fi

# ---- Step 2: Audio Decode ----
if [ "$FORCE_DECODE" = false ] && [ -f "${PATHS[AUDIO]}" ]; then
    echo "Skipping audio decode — FLAC already exists."
else
    echo "Decoding audio..."
    hifi-decode -n -t 8 -f "$FREQ" --audio_rate 48000 --8mm \
        "${PATHS[RAW]}" "${PATHS[AUDIO]}"
fi

# ---- Step 3: Auto Audio Alignment ----
if [ "$FORCE_DECODE" = false ] && [ -f "${PATHS[ALIGNED_AUDIO]}" ]; then
    echo "Skipping audio alignment — aligned FLAC already exists."
else
    echo "Aligning audio with VhsDecodeAutoAudioAlign..."
    if [ ! -f "${PATHS[TBC_JSON]}" ]; then
        echo "Missing TBC JSON file: ${PATHS[TBC_JSON]}"
        exit 1
    fi

    ffmpeg -i "${PATHS[AUDIO]}" -f s24le -ac 2 - | \
    mono "$AUTO_ALIGN" stream-align \
      --sample-size-bytes 6 \
      --stream-sample-rate-hz 48000 \
      --json "${PATHS[TBC_JSON]}" \
      --rf-video-sample-rate-hz 40000000 | \
    ffmpeg -f s24le -ar 48000 -ac 2 -i - -c:a flac -sample_fmt s32 "${PATHS[ALIGNED_AUDIO]}"
fi

# ---- Step 4: Video Export with Aligned Audio ----
echo "Exporting final video: ${PATHS[TBC]} + ${PATHS[ALIGNED_AUDIO]}"
tbc-video-export --audio-track "${PATHS[ALIGNED_AUDIO]}" "${PATHS[TBC]}" "${PATHS[FINAL]}"

echo "VHS decode workflow completed for $FILE"
echo "Final file saved to: ${PATHS[FINAL]}"
Storage usage
Here is a summary of the approximate storage usage I saw during my workflows.
| Step | Description | Files | ≈ GB/hour |
|---|---|---|---|
| 1 | Raw RF Capture | .u8 |
145 GB/h |
| 2 | Video Decode | tbc, chroma.tbc |
200 GB/h |
| 3 | Audio Decode | .flac |
0.45 GB/h |
| 4 | Aligned Audio | .flac |
0.45 GB/h |
| 5 | Final Output | .mkv |
50 GB/h |
| Total | ~400 GB/h |
For 20 two-hour recordings (although not all my tapes were full), I needed about 16 TB of storage for all intermediate files. Then, for an offsite backup, I’d need an additional 16 TB! I’ve seen people recommend keeping the .tbc files, but I’m not sure why since these can always be recreated from the raw capture. So, I only kept the original .u8 capture and the final .mkv, which cut the storage required for the project in half. I plan to keep a copy on my local NAS and a cold spare with a family member in another city.
Final thoughts
This whole project took me a few months. From researching, ordering parts, modifying the capture card, learning the software, troubleshooting capture issues, and just doing the grunt work of capturing and decoding 20 tapes—it was a huge amount of effort. Although I am very pleased with the outcome, I can’t say this project was very enjoyable.
I have some suggestions and criticisms of the project, but I fully acknowledge I’ve contributed nothing to it, despite greatly benefiting from it. The most significant issue for new users is the lack of cohesion in the projects and documentation. There’s clearly a huge amount of knowledge and care, but the way this information is presented can be overwhelming. Even after weeks of digging in, I still find it hard to navigate. With disjointed tools and documentation that seems to prefer to present everything, everywhere, all at once, I understand why many people don’t proceed with this archival option.
I think the project would greatly benefit from “Getting Started” guides focused on a single format (VHS, LD, or Video8, for example) that take the reader through the process from start to finish with limited options. Additional documentation can provide more detail for advanced users, but the main goal should be getting people from their original format to decoded final videos in a straightforward manner.
I finally finished archiving and decoding 20 home Video8 tapes. Here's my workflow and thoughts
byu/rastrillo invhsdecode